Minecraft Survival Guide: Easy Super Smelter and Fast XP Farm Designs
Understand Minecraft's hardcoded experience absorption limit, compare the seven fastest mob XP farms, and build a redstone-free hopper super smelter.
 9Minecraft Team
Experience points and bulk item smelting drive late-game progression in Minecraft survival, powering everything from enchanting tables and anvils to massive building projects. Because the experience required per level scales exponentially, reaching the final tiers demands far more effort than early levels. Understanding how the game engine processes experience orbs and hopper chains allows survival builders to bypass slow bottlenecks with simple, high-yield designs.
How Minecraft's Hardcoded XP Cap Dictates Farm Speed
According to a breakdown by Sportskeeda, the true speed of an experience farm is governed by an unchangeable engine limit rather than raw mob kill counts. A player can only collect one orb every two game ticks, capping absorption at a maximum of 20 orbs per second. Because defeated mobs always drop the largest orb denominations possible for their total value, targeting creatures that produce high-value orbs is the only way to increase hourly XP gains.
- Wither (Theoretical Max)600000 XP/hr
- Baby Zombie (14 XP Peak)504000 XP/hr
- Raid Ravager (Theoretical)360000 XP/hr
- Baby Zombie (Realistic Avg)300000 XP/hr
- Blaze / Guardian180000 XP/hr
- Enderman / Zombified Piglin90000 XP/hr
Comparing the Seven Fastest Mob XP Farms
At the entry tier of high-speed grinding, both Endermen and Zombified Piglins drop 5 XP on death, split into orbs of 3, 2, and 1 XP, which translates to 90,000 XP per hour. Sportskeeda notes that Enderman farms are far easier to construct efficiently because builders can exploit the empty void of the End dimension. By contrast, Zombified Piglin gold and XP farms only reach peak output above the Nether roof in Java Edition; Bedrock Edition blocks rooftop building, forcing players below the ceiling where lava pockets, Ghasts, and Hoglins severely reduce efficiency.
Stepping up to 10 XP per kill doubles the hourly ceiling to 180,000 XP per hour through either Guardians or Blazes. Guardians drop a maximum orb size of 7 XP and an average orb of 5 XP, but draining the ocean around an Ocean Monument takes hours of preparation. Blaze farms match that exact 180,000 XP per hour rate with a fraction of the setup time while supplying Blaze Rods, the sole fuel source for brewing potions.
| Mob Type | Total XP Dropped | Key Orb Value | Practical Limitation |
|---|---|---|---|
| Zombified Piglin | 5 XP | 3 XP max orb | Requires Java Nether roof for top speed |
| Enderman | 5 XP | 3 XP max orb | Requires End dimension access |
| Guardian | 10 XP | 7 XP max / 5 XP avg | Multi-hour ocean draining setup |
| Blaze | 10 XP | 5 XP avg orb | Nether fortress spawner dependency |
| Baby Zombie | 12 XP (+1 to 3 geared) | 14 XP breakpoint | Cannot easily filter geared variants |
| Raid Ravager | Varies by raid | 10 XP avg orb | 1.21 broke full automation; mixed mob spawns |
| Wither | 50 XP | 16.5 XP avg orb | Slow death animation and Wither Skull scarcity |
The highest theoretical yields belong to Baby Zombies, Raid Farms, and the Wither, though each faces practical hurdles in actual survival worlds. Standard zombies drop 5 XP, whereas a Baby Zombie drops 12 XP plus an extra 1 to 3 XP when wearing armour or holding gear. Hitting the game's 14 XP orb breakpoint with geared Baby Zombies could theoretically generate 504,000 XP per hour, yet because survival farms cannot filter for exact equipment rolls, realistic output settles around 300,000 XP per hour.
Similarly, Ravagers drop orbs averaging 10 XP for a theoretical 360,000 XP per hour, but the 1.21 update ended fully automatic raid farms, and active raids dilute the orb pool with Pillagers, Vindicators, Witches, and Vexes. Finally, the Wither drops more experience than any mob besides the Ender Dragon at 50 XP per kill (averaging 16.5 XP per orb for a theoretical 600,000 XP per hour), but its lengthy death animation and the grind for Wither Skulls keep sustained hourly rates much lower.
Building a Redstone-Free Hopper Super Smelter and XP Bank
For players who prefer passive experience alongside fast resource processing, Astroworld MC details a purely hopper-driven super smelter that requires zero redstone components. While a single regular furnace takes 10 seconds per item, running 8 or 16 furnaces in parallel clears a full inventory in seconds. Builders can also swap in Blast Furnaces for dedicated ore processing or Smokers for food to run at twice the speed of standard furnaces.
- Place 8 furnaces in a straight row, leaving clear air blocks directly above, behind, and underneath the line.
- Attach a row of 8 top hoppers feeding downward into the furnaces' top input slots, chained horizontally into one another from an input double chest at one end.
- Run a second chain of 8 side hoppers across the back or side of the furnaces, connected to a fuel double chest stocked with coal, charcoal, or dried kelp blocks.
- Install a bottom line of 8 output hoppers directly beneath the furnaces pointing toward an output double chest to extract finished items.
- To claim banked XP, temporarily break the output hopper below a furnace and pull a single smelted item out manually to release all stored orbs at once.
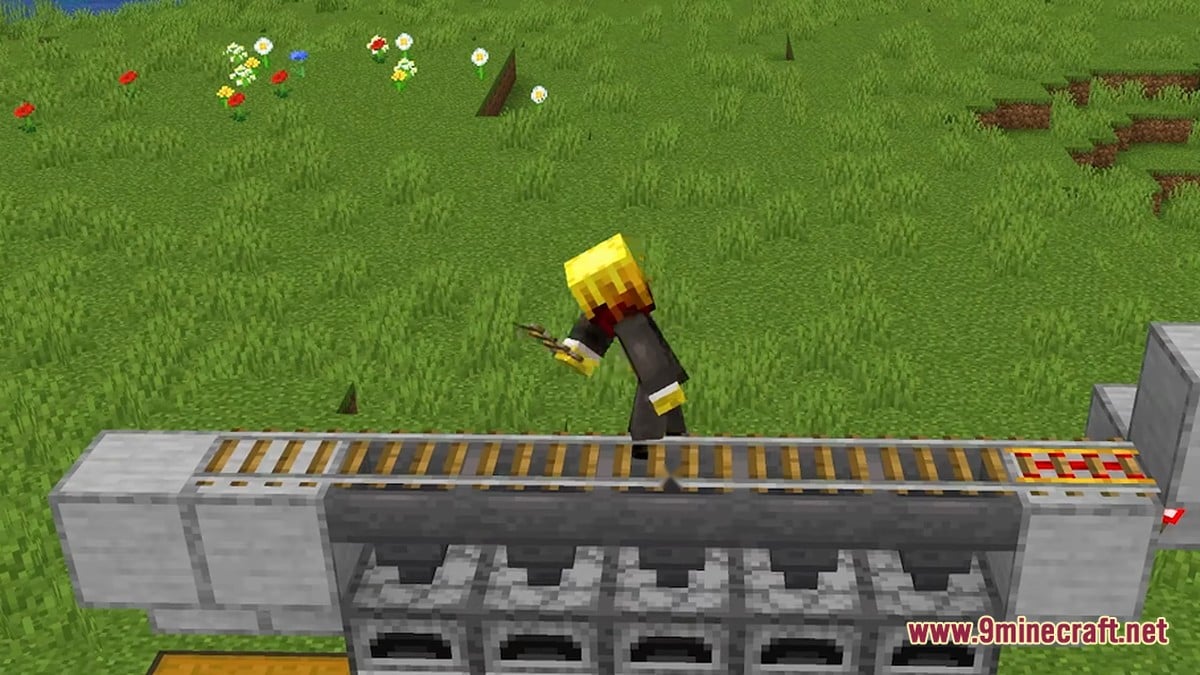
As items leave the input chest, each hopper pushes items into the furnace below it until that furnace holds a full stack, then naturally passes overflow down the chain. Because a hopper transfers 2.5 items per second regardless of chain length, a single hopper line easily outpaces 8 furnaces and does not bottleneck until a build scales past 25 furnaces. Feeding an 8, 16, or 32-furnace array with unlimited farmable items like cactus, kelp, or cobblestone creates a reliable XP bank.
 FurnaceSmelts any smeltable item in 10 seconds
 Blast FurnaceSmelts ores and armour twice as fast
 SmokerCooks food items twice as fast
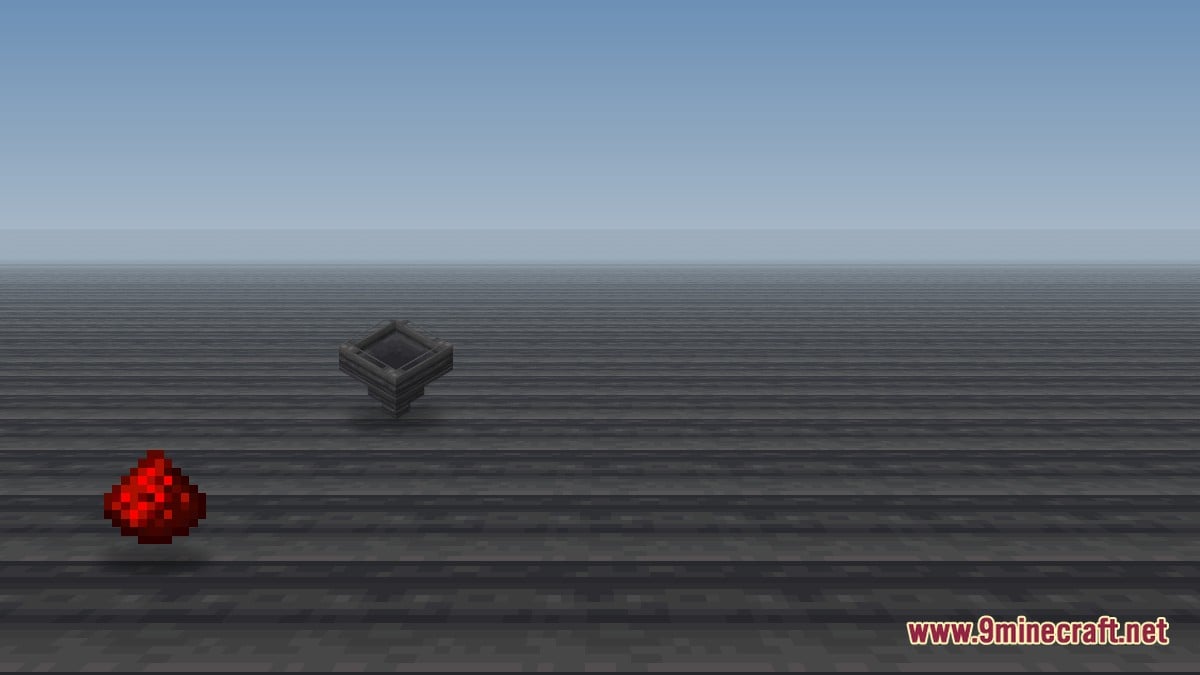
 HopperTransfers 2.5 items/sec across chains
 CactusTop renewable item for furnace XP banks
 Dried Kelp BlockRenewable fuel source for auto smelters
Schematics, Industrial Scaling, and Community Feedback
When moving from basic hopper lines to complex farm schematics, precision matters across editions. Bloxelizer highlights that farm mechanics frequently diverge between Java Edition and Bedrock Edition, where a single misplaced observer, piston, or water source can break an entire build. Players on PC can inspect 2D layer-by-layer or 3D blueprints and load .litematic or .schem files via Litematica, WorldEdit, Axiom, or Java structure blocks, while Bedrock players use .mcstructure files and console players rely on step-by-step block lists. If you want to test these builds in a fresh installation, you can get the game from our Android, iOS, Windows, patched and Java Edition download pages, covering Bedrock (Android APK, iOS, Windows GDK, and patched builds) and the 9Minecraft wiki for Java Edition; always back up your survival worlds before testing heavy redstone contraptions.
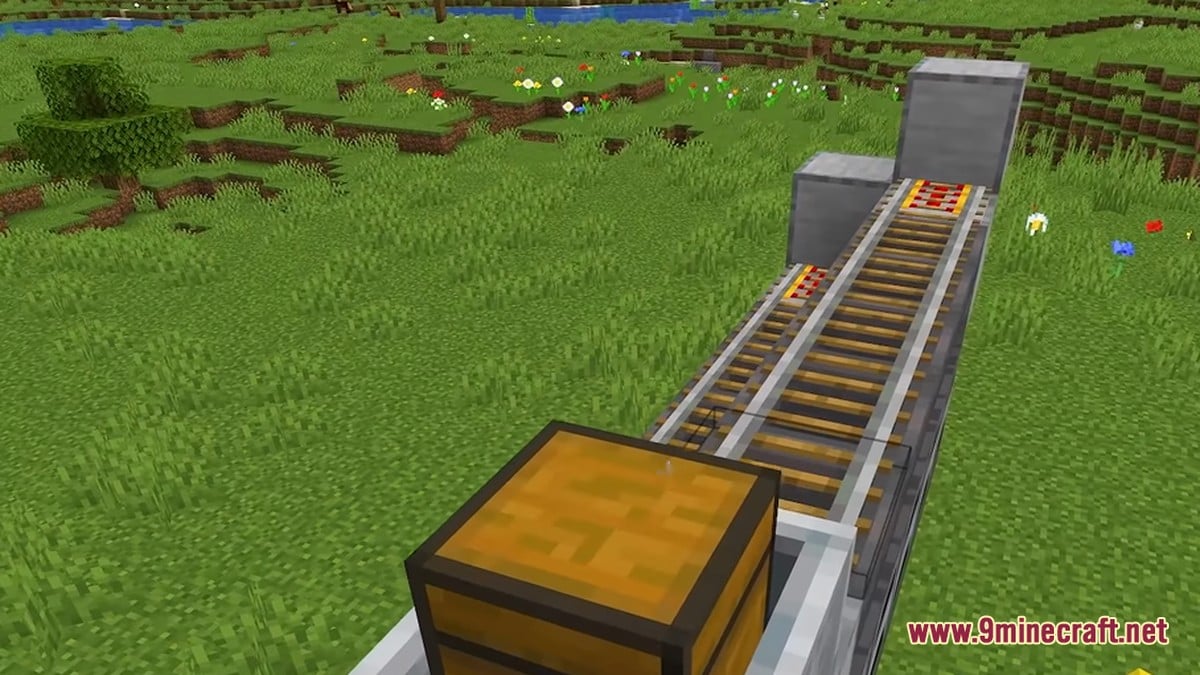
In community discussions surrounding massive schematics—such as creator Oregano's 20,000 items per hour super smelter featuring 256 furnaces on Abfielder—players frequently debate the trade-off between simplicity and industrial speed. Some builders report confusion when pasting large schematic files, particularly around comparator-read hoppers pre-filled with specific blocker stacks like stone, coal, and redstone dust to regulate minecart loading (1 item per furnace, or 2 stacks per hopper so each minecart grabs 2 stacks). Because of these calibration headaches, many survival players prefer sticking to expandable 8-to-16 furnace hopper chains for daily use and pairing them with a straightforward Enderman or Blaze farm for active enchanting.
Which XP and smelting setup do you rely on most in your Minecraft survival world?
Tap an option to vote